
Why Is My Mini-Split Not Cooling?
A ductless mini-split can look as though it is working while the room keeps getting warmer. The display is lit, the louver moves, and the indoor fan makes noise—but the air is not cold enough or barely reaches the occupied part of the room. On a multi-zone system, one head may cool normally while another does almost nothing. Those details matter because the problem may be limited to a filter, remote, drain, or indoor fan, or it may involve the shared outdoor unit and refrigerant circuit.
Start with the room and the controller. Mini-splits have more operating modes and fan behaviors than many central thermostats, and icons are easy to misread. After that, check airflow and the outdoor unit without removing any covers. If the system displays an error code, leaks water, forms ice, trips power, or still cannot cool after basic corrections, stop resetting it and arrange focused mini-split repair.
Quick answer: Set the unit to Cool—the snowflake icon—not Dry, Fan, Auto, or Heat. Lower the setpoint below room temperature, select a medium or high fan speed, replace remote batteries, and clean the washable filters according to the manual. Close doors and windows, clear the indoor intake and outdoor unit, and wait ten to fifteen minutes. If air remains warm, airflow is weak after filter cleaning, another zone behaves differently, ice appears, or an error code returns, the mini-split needs diagnosis.
First Decide Which Cooling Problem You Have
“Not cooling” can describe at least four different complaints. The indoor unit may blow room-temperature air. It may produce cold air but very little of it. It may cool near the wall head while the far side of the room stays hot. Or it may cool normally for a while and then fade, stop, ice up, or show a fault. A thermometer and a few observations are more useful than judging from a hand under the louver.
- Warm air with normal fan speed: check mode first; then consider outdoor operation, refrigeration, sensors, or zone control.
- Cold air with weak fan speed: filters, coil buildup, fan wheel, motor, or an obstructed intake may be involved.
- Cold air that does not reach the room: louver direction, fan setting, head placement, open doors, solar load, or equipment sizing may be the issue.
- Cooling that starts and then stops: ice, condensate, a sensor, power, communication, or system protection deserves attention.
Safe Mini-Split Checks You Can Make
1. Select Cool Mode, Not Just a Low Number
A low setpoint does not help if the controller is in Fan, Dry, Heat, or Auto. Choose Cool, usually shown as a snowflake. Dry mode dehumidifies and may run the fan and compressor intermittently; it is not designed to pull down a very hot room as aggressively. Auto can choose a mode based on its sensor and programmed thresholds, which may not match what you expect at that moment.
If the remote uses Celsius, verify that the number is not being misread. Make sure a timer, sleep mode, occupancy setting, energy-saving function, app schedule, or central controller is not overriding the command. In rental or commercial spaces, a wall controller or building interface may have priority over the handheld remote.
2. Replace Remote Batteries and Confirm the Signal
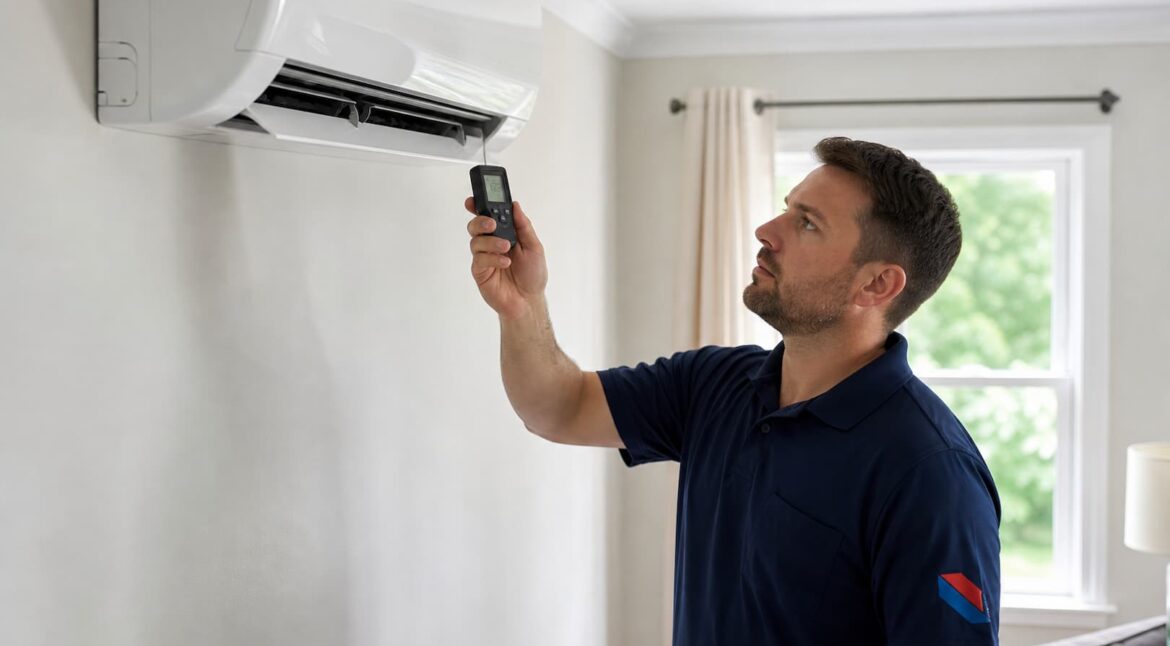
Install fresh batteries if the screen is faint, intermittent, or the indoor head does not beep or change its display when you send a command. Point the remote toward the receiver and make sure furniture, plants, or décor are not blocking the line of sight. If the system is also app-controlled, look for conflicting schedules or a controller that still shows an old mode.
3. Use a Higher Fan Speed and Aim the Louvers
Quiet or low fan settings can make the cold air stay near the unit, especially in a long room, a room with a high ceiling, or a space divided by furniture. Select medium or high speed for the test. In cooling mode, aim the air outward and somewhat upward so it can mix before settling. Do not force motorized vanes by hand unless the manual explicitly permits it.
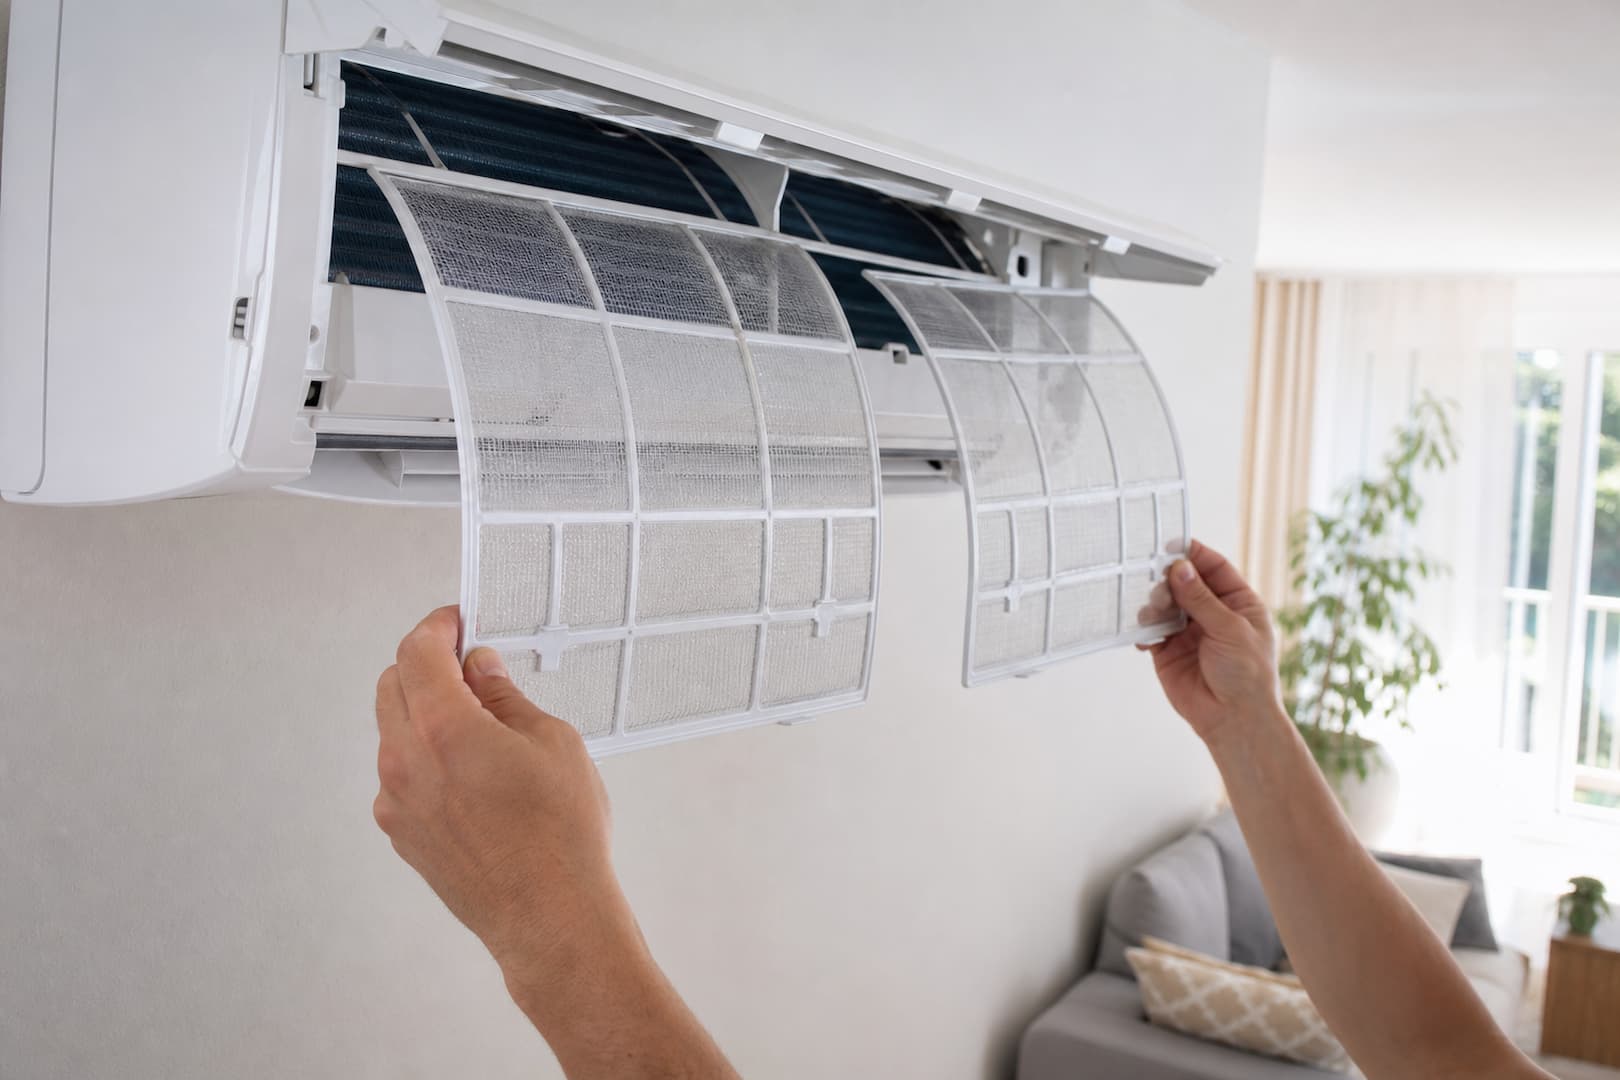
4. Clean the Washable Filters
Turn the unit off and follow the manufacturer’s instructions for opening the front panel and removing homeowner-serviceable filters. Vacuum light dust or wash reusable screens as directed, then let them dry fully before reinstalling. Do not run the head without its filters. A filter-clean reminder is usually based on hours, not on a sensor that knows whether the filter is actually dirty, so reset the reminder only after the work is done.
5. Check the Room Load
Close exterior doors and windows. Pull shades on intense afternoon sun. Turn off unnecessary heat-producing equipment and confirm that a connected hallway or stairwell is not drawing most of the conditioned air away. A mini-split sized for one closed room may not cool several open rooms, a newly finished area, or a space whose insulation and occupancy have changed.
6. Inspect the Outdoor Unit From a Safe Distance
The outdoor fan and compressor may wait a few minutes after a command. Once the delay passes, listen for normal operation. Keep leaves, bags, vegetation, and stored items away from the coil and discharge. Do not open the electrical panel, bend fins, spray controls, or reach through the guard. If the unit only hums, repeatedly clicks, trips the breaker, or remains silent while an indoor head calls for cooling, it needs service.
7. Record Error Codes Before a Reset
Blinking lights, letter-number codes, or app alerts can identify which system family reported a fault: temperature sensor, indoor fan, communication, outdoor board, refrigerant protection, drain, or another circuit. Photograph the code and note which head displayed it. Manufacturer codes are model-specific, and a code names the detected condition—not automatically the part that needs replacement.
Why a Mini-Split Runs but Does Not Cool
Dirty Indoor Coil or Blower Wheel
Fine dust passes around or through the filter and collects on the evaporator coil and the cross-flow blower wheel. The buildup can narrow the coil’s air passages and change the shape of the fan blades, reducing both heat transfer and air volume. Warning signs include weak output after the filters are cleaned, dark deposits inside the outlet, uneven air across the louver, musty odor, noise, and water droplets that do not drain cleanly.
Spraying household cleaner into the head can damage coatings, electronics, insulation, and plastics while washing debris into the drain pan. Deep cleaning requires controlled access, appropriate cleaning materials, protection of the room and electronics, and confirmation that the drain handles the rinse water.
Frozen Indoor Coil
Restricted airflow, an indoor fan problem, dirty coil, low refrigerant, a leak, metering trouble, or a sensor/control issue can make the coil freeze. Airflow may weaken gradually, and water may appear when the ice melts. Turn cooling off. If the fan operates normally, Fan mode may help thaw the coil, but follow the equipment manual and protect the area from water. Do not scrape ice or use heat tools.
Refrigerant Leak or Incorrect Charge
Mini-splits use a sealed refrigerant circuit with flare or brazed connections, line sets, valves, coils, and sometimes branch components. A leak can reduce capacity, increase runtime, create ice, and eventually trigger protection. Oil staining near a fitting, a history of repeated top-offs, or worsening cooling across more than one zone may support that suspicion, but pressures and temperatures have to be interpreted with the manufacturer’s procedures.
Refrigerant is not a consumable. If it is low, finding and addressing the leak is part of a durable repair. Simply adding charge without verifying the system can leave the root cause and may produce incorrect charge on equipment whose performance is sensitive to line length and total refrigerant mass.
Outdoor Coil or Fan Problem
Cooling requires the outdoor unit to reject heat. Dirt, cottonwood, leaves, blocked clearance, a damaged fan, motor failure, control problem, or a recirculation issue can raise operating temperatures and reduce capacity. A fan that stops while the compressor continues can lead to a protective shutdown. Power the system off if you hear grinding, see the fan striking something, or smell hot electrical insulation.
Sensor or Control Error
Thermistors measure room, coil, pipe, discharge, and outdoor temperatures. If a sensor is out of position, damaged, poorly connected, or inaccurate, the control may reduce compressor speed, stop cooling too soon, fail to control the fan correctly, or issue a code. Control boards and inverter modules use those inputs to protect the equipment, so a bad reading can make a mechanically sound system behave badly.
Communication Failure
The indoor and outdoor units exchange power and data through specific wiring arrangements. Loose terminals, damaged cable, polarity mistakes on applicable systems, electrical noise, moisture, surge damage, mismatched components, or a failed board can interrupt that communication. One head may show an error even though the actual fault is at the outdoor unit or shared wiring.
Condensate Drain or Pump Trouble
In cooling mode, moisture collects on the indoor coil and must drain away. A clogged drain, poor slope, cracked pan, dirty drain channel, kinked hose, or failed condensate pump can cause dripping. Some installations include a safety that stops operation when water rises. Even without a shutdown, standing water and slime can affect odors, air quality, and the internal fan.
Compressor, Inverter, or Power-Electronics Fault
Inverter-driven systems vary compressor speed instead of merely switching it on and off. Faults can involve supply voltage, rectification, inverter modules, compressor windings, current sensing, temperature protection, or board communication. These problems require model-specific procedures and high-voltage precautions. Do not assume that a silent compressor needs a capacitor; many ductless systems do not use the same start components as a basic single-stage central AC.
Why One Mini-Split Zone Cools and Another Does Not
One-zone trouble usually draws attention to that indoor head: its mode, filters, fan, coil, sensor, drain, controller, or communication path. Still, a multi-zone outdoor unit shares compressor capacity and refrigerant flow. The request from one head can affect what the others do, and some systems restrict simultaneous opposite modes. A head set to Heat or Auto may conflict with heads calling for Cool, depending on design.
Compare every controller. Put all active zones in Cool for a test and give the system time to stabilize. Note which heads open their louvers, move air, cool, flash a code, or remain idle. A technician can then trace zone addresses, branch components, electronic expansion valves, thermistors, and refrigerant behavior instead of treating each wall unit as a standalone window air conditioner.
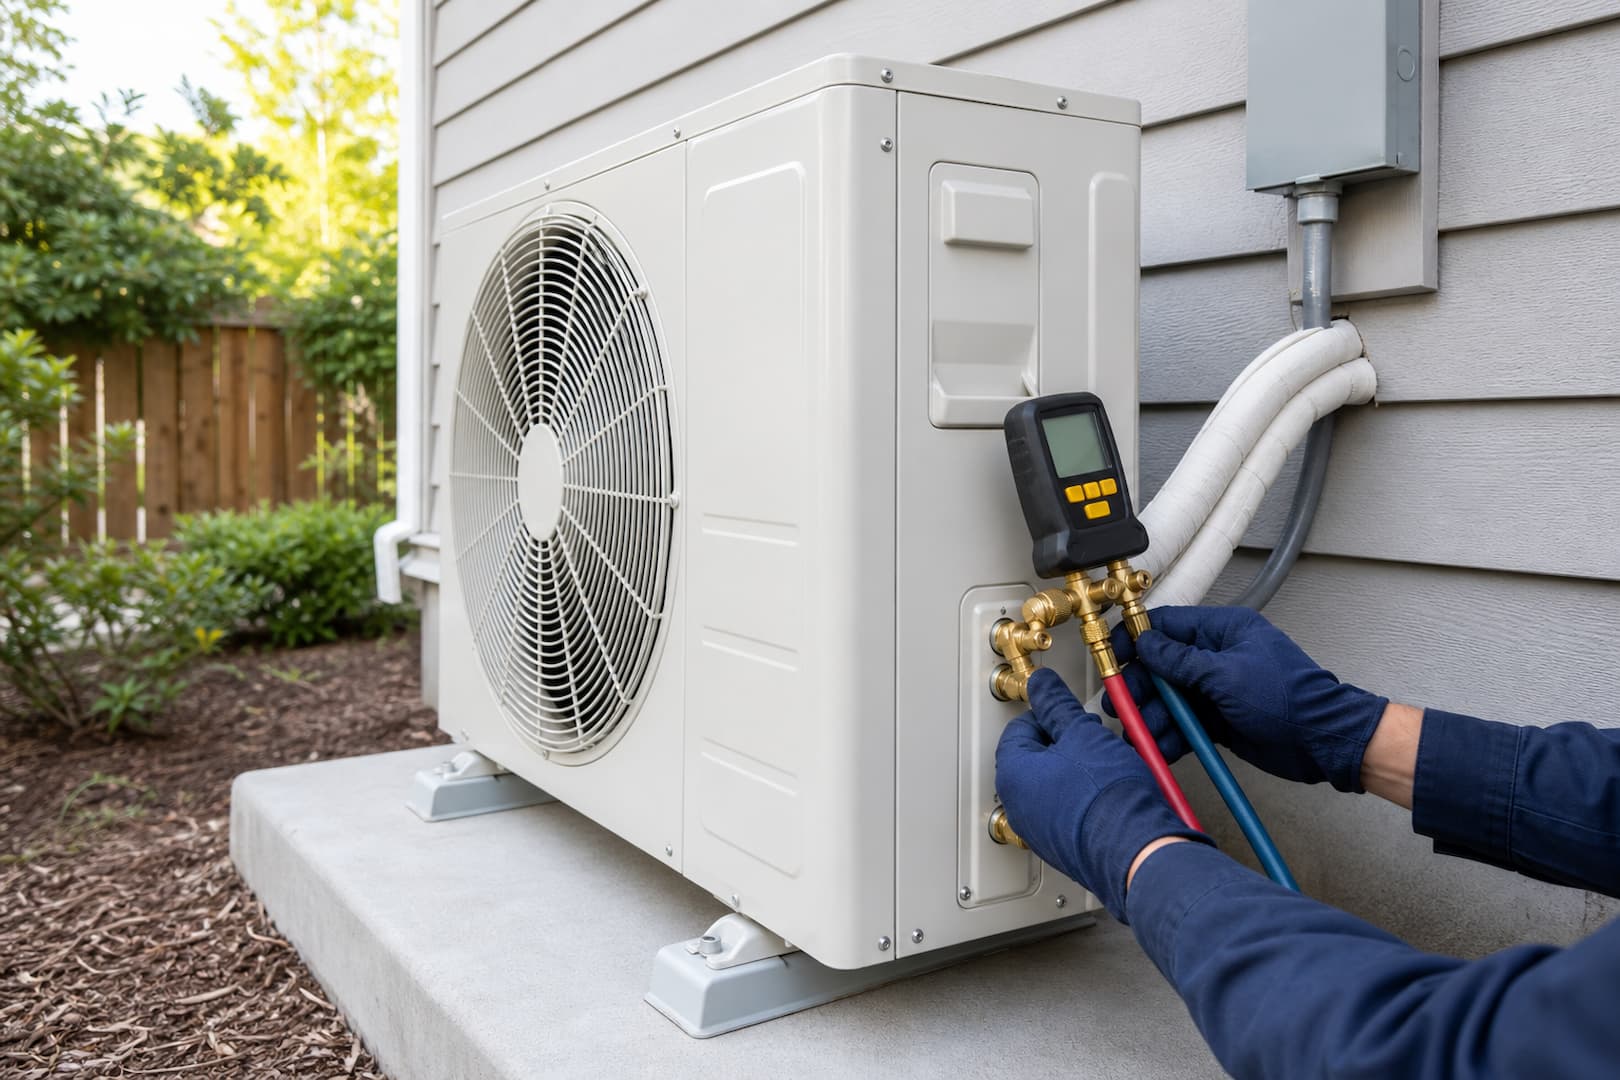
When to Stop Running the Mini-Split
Turn the system off and arrange prompt service if you notice:
- Ice on the indoor coil or refrigerant lines.
- Water dripping near outlets, electronics, walls, ceilings, or flooring.
- A breaker that trips again after one reset.
- Burning-plastic or strong electrical odor.
- Grinding, fan-blade contact, severe vibration, or an outdoor unit that hums without starting.
- A persistent chemical odor, visible oily residue, or hissing near the refrigerant circuit.
- Cooling loss during dangerous indoor heat, especially where occupants are vulnerable.
If indoor heat is becoming unsafe or water and electrical components are involved, emergency HVAC repair may be the appropriate next step.
What a Mini-Split Technician Will Check
Ductless service begins in the affected zone and follows the symptom outward. The technician confirms mode, controller priority, room load, intake and discharge temperature, fan behavior, coil condition, drainage, sensors, and codes. On a multi-zone system, every connected head matters, even if only one room is uncomfortable.
- Controller settings, address, communication, stored errors, and model-specific test mode.
- Filter, evaporator coil, cross-flow wheel, louver, motor, and temperature split.
- Drain pan, hose, slope, pump, insulation, wall penetration, and leak location.
- Outdoor coil, fan, inverter, electrical connections, voltage, current, and protection history.
- Pipe temperatures, refrigerant performance, leak indicators, line length, and branch components where used.
- Thermistors, electronic expansion valves, compressor response, and capacity allocation across zones.
After repair, the affected room should be tested with doors and windows in their normal condition. Clearing a code is not enough. The head needs to move the expected air, deliver a stable temperature, drain correctly, communicate without another fault, and bring the zone toward setpoint.
Repair or Replace a Mini-Split That Will Not Cool?
Filter and cleaning needs, drain faults, thermistors, wiring, remotes, fan motors, and some boards are often reasonable repairs. The decision becomes harder with a leaking coil, compressor failure, multiple failed boards, unavailable proprietary components, or a multi-zone system with recurring leaks and control errors.
Replacement planning should address why the current system struggled. Confirm room loads, indoor-head locations, outdoor capacity, line-set routing and length, condensate path, electrical supply, service access, and how zones are actually used. An equipment swap that repeats poor head placement or undersizing will not solve distribution problems.
How to Prevent Cooling Loss
- Inspect washable filters monthly in cooling season and clean them as the manual directs.
- Keep the top intake and front discharge of each indoor head open.
- Use consistent modes across a multi-zone system unless the model supports simultaneous heating and cooling.
- Watch for early signs: weaker air, uneven discharge, dark blower buildup, musty odor, water, ice, and new codes.
- Keep vegetation and loose debris away from the outdoor unit.
- Schedule periodic mini-split maintenance for coil, blower, drain, control, electrical, and performance checks.
Frequently Asked Questions
How long should a mini-split take to cool a room?
You should usually feel cooler discharge within several minutes, but room pull-down depends on starting temperature, humidity, sun, insulation, room size, doors, fan speed, and system capacity. A very hot room may take much longer to reach setpoint.
Why is the mini-split blowing air but not cold air?
It may be in Fan, Dry, Auto, or Heat rather than Cool. If the mode is correct, outdoor-unit, refrigerant, sensor, inverter, communication, or system-protection trouble may be preventing active cooling.
Can dirty filters stop a mini-split from cooling?
Dirty filters can reduce airflow and cooling, but clean filters do not rule out buildup on the coil or blower wheel. If airflow remains weak after proper filter cleaning, the interior should be inspected.
Why does one zone work and another not?
The affected head may have a local filter, fan, sensor, drain, controller, valve, or communication problem. Shared refrigerant and outdoor controls can also affect one zone differently. Compare modes and codes on every connected head before service.
Should I reset the breaker?
You may reset a clearly labeled tripped breaker once if there is no burning odor, water, or visible damage. If it trips again, leave it off. Repeated resetting can energize a serious electrical fault.
Does low refrigerant mean the system only needs a recharge?
No. Refrigerant remains in a sealed circuit. Low charge usually means a leak, a prior charging error, or a service issue. The cause, leak location, repair feasibility, evacuation, and correct final charge all matter.
Bottom Line
Put the system in Cool, choose a real cooling setpoint, raise the fan speed, clean the filters, close the room, aim the louvers, and give the compressor time to start. Check the outdoor unit from outside and save any fault code before one permitted reset.
If cooling is still weak, the most useful question is not merely whether the indoor head runs. It is whether that zone moves enough air, the outdoor unit transfers heat, the controls agree, the refrigerant circuit performs correctly, and the condensate leaves safely. That is the difference between restarting a mini-split and actually repairing it.